Table of Contents
ToggleSmart home lighting transforms a house into a responsive, convenient living space, and you don’t need an electrician to do it. Most homeowners can install smart bulbs and fixtures themselves, saving labor costs while gaining full control over ambiance and schedules. Whether you’re automating a single bedroom or rewiring your entire home’s lighting scheme, this guide walks through the essentials: what systems work with your wiring, which products actually deliver, what tools you’ll need, and how to avoid the rookie mistakes that waste time and money. By the end, you’ll understand smart home lighting installation well enough to tackle the work confidently.
Key Takeaways
- Smart home lighting installation can be completed by most homeowners without an electrician, saving labor costs while gaining control over ambiance, brightness, color, and automated schedules.
- Plan your setup by choosing between hub-based systems (more reliable and advanced) or hub-free Wi-Fi systems, checking your existing wiring for neutral wires, and mapping which rooms you want to automate.
- Select the right products by confirming compatibility with your voice assistant ecosystem, choosing between color-changing bulbs ($15–$50) or brightness-only bulbs ($8–$20), and matching bulb base types to your fixtures.
- Safety is essential: turn off circuit breakers, use a non-contact voltage tester to confirm power is off, and take photos of wire configurations before disconnecting anything.
- Maximize your investment by creating preset lighting scenes, integrating motion sensors and other smart home devices, and updating firmware regularly to prevent disconnections and reduce energy consumption.
- DIY smart home lighting installation costs range from $100–$400 for bulb-only setups to $800–$2000 for smart switches and fixtures, with LED bulbs using 8–12 watts versus 60 watts for incandescent bulbs.
Planning Your Smart Lighting Setup
Before buying a single bulb, understand what you’re actually controlling. Smart lighting falls into two camps: bulb-replacement systems (you swap out existing bulbs) and fixture-replacement or hardwired systems (you install new hardware). Bulb-replacement is easier for renters and quick updates: fixture replacement gives more power but demands basic electrical work.
Decide on a hub-based or hub-free setup. Hub-based systems like Philips Hue or Lutron use a central hub that communicates with bulbs and switches: they’re reliable and offer advanced automation. Hub-free systems (many Wi-Fi bulbs) talk directly to your phone or voice assistant but can drop connection if your router is far away or overloaded.
Draw a quick map of which rooms you’re upgrading and what you want to control, dimmers, color changes, schedules, or just on-off. This prevents impulse purchases and keeps costs realistic.
Assessing Your Home’s Wiring and Compatibility
Your existing wiring dictates what’s possible. Open a wall switch and check whether you have a neutral wire (usually white). Most modern homes do, but older houses sometimes don’t. A neutral wire is essential for smart dimmers and many advanced fixtures. If you don’t have it, dimming and scheduling become limited unless you upgrade the circuit.
Note whether your switches are single-pole (one switch controls the light) or three-way (two switches control one light). Three-way wiring is trickier and requires compatible smart switches, so know what you’re dealing with before ordering. Standard incandescent or LED wiring usually works fine, but some fixture types, like certain recessed lights with constant-power requirements, need specific bulb choices.
If you’re uncertain about your wiring, a non-contact voltage tester ($15–$25) is your safest bet before touching anything. Test the switch to confirm it’s de-energized, and take a photo of the wire configuration before you disconnect anything.
Choosing the Right Smart Bulbs and Fixtures
The market offers thousands of smart lighting products. Narrow it down by asking: Do you want color-changing bulbs or simple on-off brightness control? Do you need compatibility with existing voice assistants or a specific app ecosystem?
Color-changing bulbs (like Philips Hue or LIFX) cost $15–$50 per bulb and can shift to any color, set scenes, and respond to voice commands. Brightness-only bulbs run $8–$20 and handle schedules and dimming without color. Smart switches ($40–$80) replace your existing switch and control any bulb in that fixture, making them cost-effective for multi-bulb fixtures and recessed lights.
Compatibility is non-negotiable. If you own an Alexa speaker, look for Amazon Alexa compatibility. Apple Home users want HomeKit support. Google Home users need compatible products. Most major brands work across ecosystems, but not all. Check product pages or ask in online communities before buying.
Bulb base type matters: E26 (standard US screw-in) fits most table and ceiling fixtures. GU10 (bayonet-pin) common in recessed and spotlights. Candelabra (E12) for decorative fixtures. Get the base right or you’ll have a useless bulb.
Consider wattage equivalence, too. A 9W smart LED typically replaces a 60W incandescent. Check the packaging to match your fixture’s brightness expectations. Dimming-compatible bulbs and fixtures must be matched: a non-dimmable bulb on a dimmable switch wastes the feature and may flicker.
Essential Tools and Materials You’ll Need
Smart bulb installation is simpler than full rewiring, but you’ll still need basics. For bulb-only swaps, grab a ladder or step stool, non-contact voltage tester, and gloves (some bulbs are tight to install, and your hands can slip). If you’re installing smart switches or fixtures, add a Phillips screwdriver, wire strippers (for exposing about 3/4 inch of wire), and a small needle-nose pliers.
Safety equipment is mandatory: Insulated gloves, safety glasses, and a non-contact voltage tester are bare minimums. If you’re working in dusty attic areas, wear a dust mask. Turn off the circuit breaker before opening any wall box, then test with your voltage tester to confirm power is off. Don’t skip this step, it’s the difference between a safe project and a trip to the ER.
For the smart hub and connectivity, ensure you have a strong Wi-Fi signal in the rooms you’re automating. If signal is weak, a Wi-Fi extender or mesh system may be necessary before installing: weak connections are the #1 frustration after installation.
Keep the original bulb or fixture handy for 24 hours after installation. If something doesn’t work, you’ll want to revert quickly rather than troubleshoot in the dark. Wire nuts (small plastic caps for joining wires) come with most smart switches but grab a pack of appropriately sized wire nuts ($3–$5) just in case you need extras.
Step-by-Step Installation Process
Smart Bulb Installation
- Turn off the power at the circuit breaker and confirm with your non-contact voltage tester.
- Let the fixture cool if it was recently on (prevent burns).
- Unscrew or unclip the old bulb. Some recessed lights require a gentle downward twist: others twist counterclockwise.
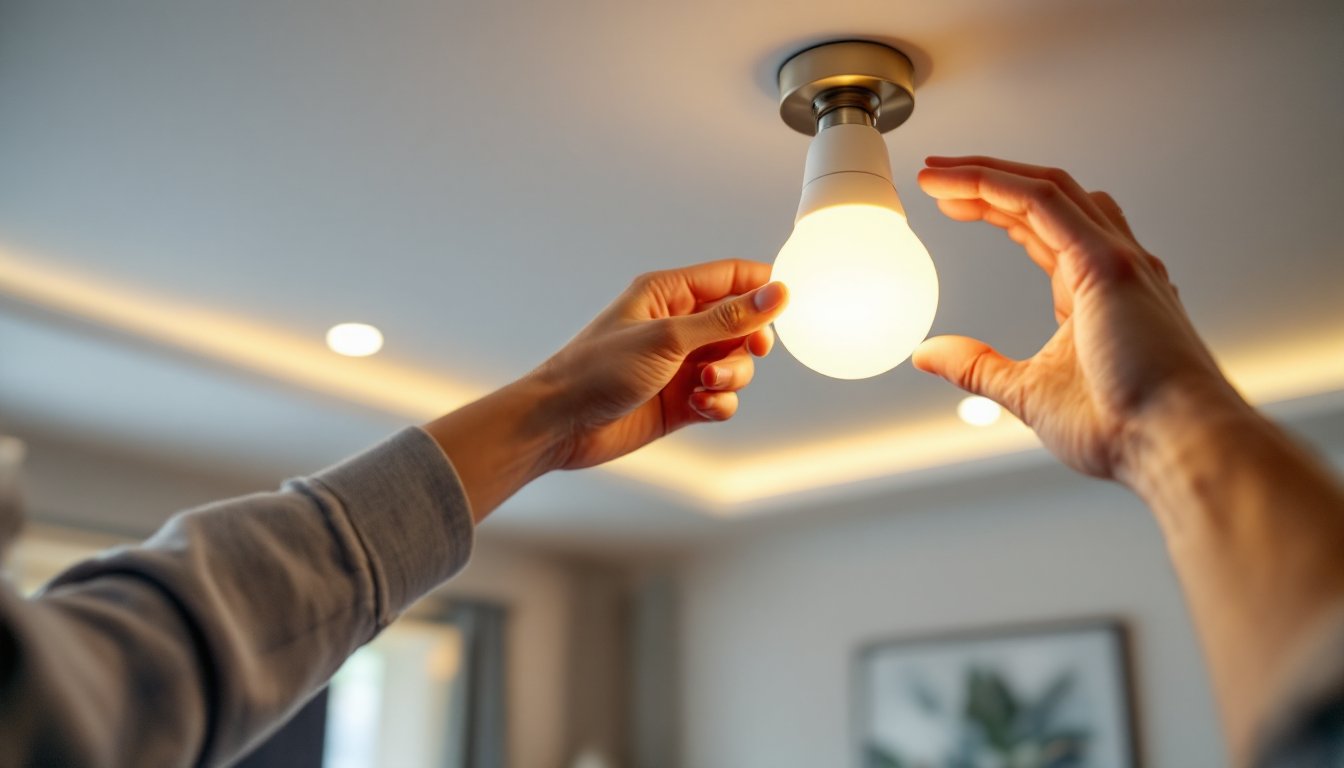
- Insert the smart bulb, ensuring it’s the correct base type and wattage equivalent. Screw or click until snug, don’t over-tighten, or you’ll crack the bulb.
- Restore power and test the bulb with your phone app or voice command before closing the fixture.
Smart Switch Installation
This requires opening the wall box and working with live or neutral wires. If you’re uncomfortable, hire an electrician. Many jurisdictions require a licensed electrician for switch installation anyway.
- Turn off power at the breaker and test with your voltage tester.
- Remove the old switch by unscrewing the wires from its terminals. Take a photo of the wire arrangement before disconnecting, seriously, do this.
- Check for a neutral wire (usually white, should be capped or bundled). If there’s no neutral, stop here: many smart switches won’t work without it.
- Strip about 3/4 inch of insulation from each wire if needed.
- Connect wires to the smart switch following the manufacturer’s diagram exactly. Typically: black (hot) to load, white (neutral) to neutral, red or ground (copper) to ground.
- Secure the switch in the box and attach the cover plate.
- Restore power, test, and configure via the app.
Wiring mistakes are dangerous and can damage the switch. If you’re not confident, how to install smart lights from Tom’s Guide walks through variations, including three-way setups.
Connecting and Configuring Your Smart Lighting System
Once hardware is installed, pairing to your smart hub is straightforward. Most systems follow this workflow:
- Download the manufacturer’s app (Philips Hue, LIFX, Lutron, etc.).
- Add the hub to your Wi-Fi by scanning a QR code or entering credentials.
- Search for bulbs or switches within the app. The app will detect nearby devices: select them and assign to rooms.
- Set up your voice assistant (Alexa, Google, Apple) and link the smart lighting app. This usually requires authorizing the connection once.
- Test on-off, dimming, and scenes from your phone before relying on voice.
If a bulb doesn’t appear during discovery, it’s usually out of range or already paired to another hub. Reset the bulb by turning it on-off quickly (3-4 times in 2-second intervals) until it flashes. This factory resets most bulbs and makes them discoverable again.
Automation and scheduling come next. Most apps let you set sunrise/sunset routines, geofencing (lights turn on when you arrive home), or timer-based scenes. Start simple: maybe bedroom lights to 30% brightness at 10 PM. Add complexity once you’re comfortable.
If your setup includes older smart switches with WiFi that’s unreliable, or a new hub-based system, confirm how to set up smart home devices focuses on network stability. A dedicated 2.4GHz band on your router (separate from 5GHz) often works better for smart bulbs and switches than mixing them, because some devices are slower to connect on 5GHz. Consult your router settings if you’re dropping connections.
Maximizing Your Smart Lighting Investment
After installation, a few tweaks unlock the real value. Create lighting scenes, preset combinations of brightness, color, and timing. “Movie Night” might dim the living room to 10% and shift color to warm amber. “Good Morning” brightens the kitchen to 100% and sets a cool white tone.
Layer your automation with other smart home devices. A motion sensor in the bathroom can trigger a dimmable light at 50% during nighttime hours, protecting your eyes. Pairing your lights with a smart thermostat creates comfort zones, warming the bedroom light as the heater kicks in, for example.
Review power consumption. LED smart bulbs use about 8–12 watts compared to 60 watts for incandescent. If you replaced ten 60W bulbs, you’re saving roughly 480 watts during operation, a noticeable difference on your monthly bill. Set lights to auto-off after 30 minutes of inactivity in low-use rooms to multiply savings.
Best smart home devices often include guides for pairing lighting with security cameras, locks, and voice assistants. This kind of ecosystem thinking prevents buyer’s remorse and ensures future upgrades integrate smoothly.
Don’t forget maintenance. Dust smart bulbs quarterly to prevent heat buildup, and update the hub and app firmware when prompted. Outdated software is the sneaky culprit behind random disconnections. Most apps send notifications, so turn them on and act on them promptly. Understanding smart home devices examples in your own setup helps you troubleshoot faster when something misbehaves, and community forums for your specific system are goldmines for tips. According to cost estimates for smart lighting installation, DIY bulb-only setups run $100–$400 for a whole home, while smart switches and fixtures can push $800–$2000. Knowing what you’re working toward keeps you from overextending.