Table of Contents
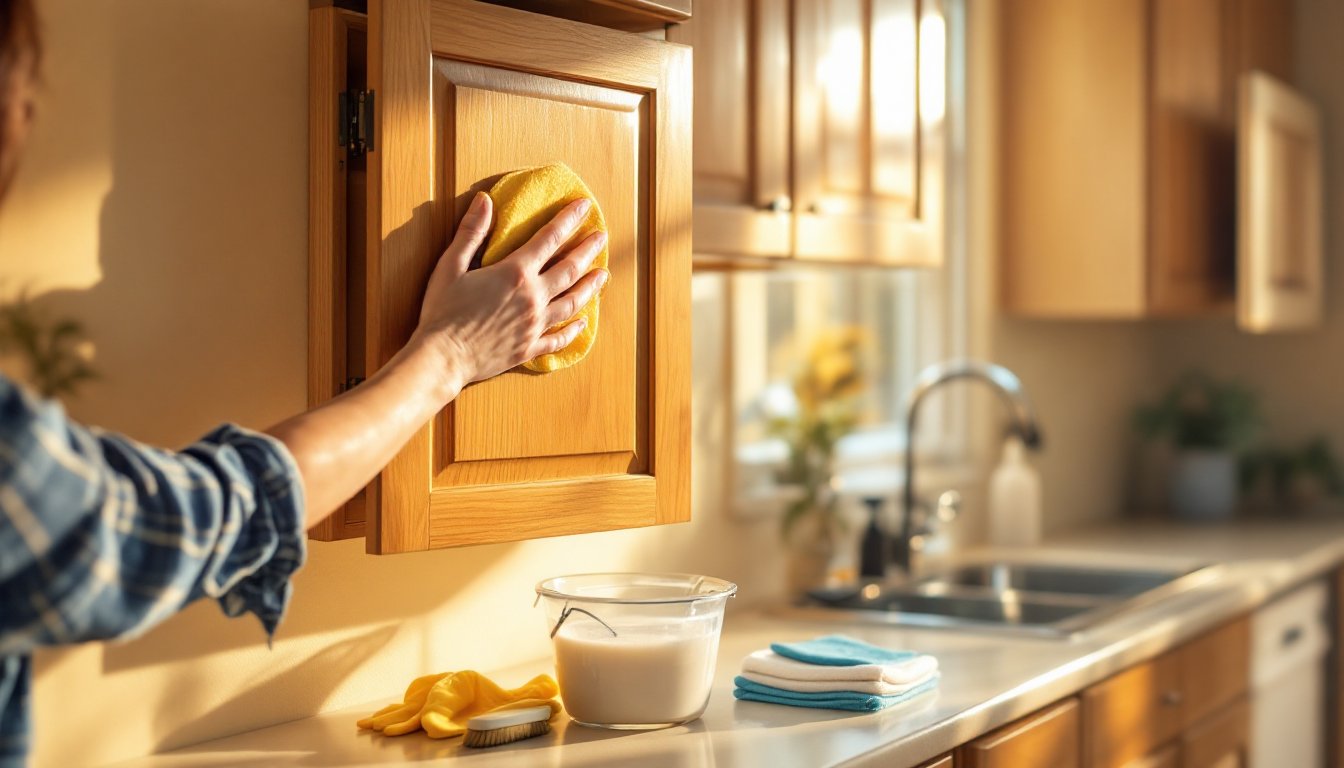
ToggleWood kitchen cabinets are a centerpiece of any home, they set the tone for the entire kitchen and take a beating from daily use. Grease splatters, dust, fingerprints, and spills accumulate quickly, dulling the finish and making even quality cabinetry look tired. The good news is that cleaning wood kitchen cabinets doesn’t require expensive services or harsh chemicals. With the right approach, basic supplies, and a bit of elbow grease, homeowners can restore their cabinets to like-new condition and keep them looking their best for years to come. This guide walks through the complete process, from identifying what your cabinets need to tackling stubborn grime.
Key Takeaways
- Regular cleaning of wood kitchen cabinets prevents expensive refinishing by removing grease, dust, and moisture buildup before they damage the finish permanently.
- Use a two-bucket method with warm soapy water and a rinse bucket, applying solutions with barely damp cloths to avoid warping wood and leaving streaks.
- Soft microfiber cloths, mild dish soap, and white vinegar are the only supplies needed to clean wood kitchen cabinets effectively, avoiding harsh chemicals that strip finishes.
- For stubborn stains, apply heat and patience rather than force—let warm water soften baked-on grease and test vinegar solutions on hidden areas before visible surfaces.
- Weekly wipe-downs combined with monthly deep cleaning keeps wood kitchen cabinets looking like-new and extends the lifespan of their finish without costly professional services.
Why Wood Cabinet Maintenance Matters
Wood is a natural material that responds to moisture, dust, and chemical exposure. Over time, neglect leads to dulling, buildup, and even finish damage that’s expensive to repair. Regular cleaning removes contaminants before they set in, preserves the wood’s appearance, and extends the life of the finish, whether it’s stain, varnish, polyurethane, or paint.
Kitchen cabinets face particular abuse: steam from cooking, grease particles, and moisture create a perfect storm for buildup. A weekly wipe-down prevents grime from bonding permanently. Monthly deeper cleaning catches what daily maintenance misses. Think of it like brushing your teeth daily versus waiting a year and needing a root canal. The small, consistent effort saves you from refinishing cabinets down the road, which costs thousands and disrupts your kitchen for weeks.
Gather Your Cleaning Supplies
Before diving in, assemble your arsenal. You’ll need:
Essential Supplies:
• Soft microfiber cloths or lint-free cotton towels (essential, paper towels scratch)
• Warm water
• Mild dish soap (dawn, seventh generation, or similar)
• Vinegar (white vinegar works for light cleaning)
• Optional: commercial wood cleaner or furniture polish
• Buckets for water and rinsing
• Soft-bristle brush or old toothbrush (for corners and crevices)
Safety & Protection:
• Latex or nitrile gloves to protect skin from degreaser and repeated water exposure
• Good ventilation, open windows if using stronger cleaners
Avoid bleach, ammonia, abrasive scrubbers, and furniture sprays designed for finished wood furniture: they can strip finishes and leave residue. Similarly, skip vinegar-and-baking-soda pastes on wood, the paste lingers in grain and damages finishes.
Natural and Eco-Friendly Options
If you prefer green cleaning, water and mild soap handle 90% of kitchen cabinet jobs. For stubborn grease, mix equal parts white vinegar and water, but use it sparingly and wipe thoroughly to prevent vinegar odor and finish dulling. Olive oil or mineral oil on a cloth polishes well afterward, though test on an inconspicuous spot first. Some woodworkers swear by a mixture of equal parts vinegar, water, and boiled linseed oil, applied sparingly, but linseed oil can darken wood over time, so reserve this for areas needing protection, not regular cleaning. The safest eco option remains warm water with a drop of dish soap, which cuts grease without stripping finish.
Step-by-Step Cleaning Process
Approach cabinet cleaning methodically. Rushing leads to missed spots and rewashing. Set aside 30 to 60 minutes depending on cabinet size and grime level.
Removing Dust and Surface Debris
Start dry. Use a soft microfiber cloth to dust all surfaces, doors, sides, and tops. Pay attention to molding, panel frames, and any carved details where dust hides. If dust is heavy, a soft-bristle brush or old toothbrush works for crevices without scratching. This step is critical: removing surface dust prevents it from turning into mud when you wet-clean.
Next, inspect hinges, handles, and seams. Martha Stewart’s wood cabinet cleaning guide emphasizes that these areas trap grease and require focused attention. Use your soft brush to loosen any debris, then wipe with a dry cloth.
Deep Cleaning with the Right Solution
Fill one bucket with warm (not hot) water and a few drops of mild dish soap, more soap doesn’t mean cleaner. The water should smell faintly soapy, not like a car wash. Fill a second bucket with clean warm water for rinsing. This two-bucket method prevents dirty water from streaking cabinets.
Wring your cloth until it’s barely damp: excess water warps wood and seeps into joints. Wipe one cabinet door or section at a time, working top to bottom. This prevents dirty water from dripping onto already-cleaned areas. Use straight strokes rather than circular motions, it looks cleaner and prevents swirls in the finish. Flip your cloth frequently to a clean side. Once a section is soapy, immediately wring out your rinse cloth and go over it again, removing all soap residue. Soap left behind leaves streaks and dulls the finish.
For cabinets with an open-grain wood like oak or walnut, take extra care. Grain traps grease and water. Work in smaller sections and dry as you go. If water pools in grain, use a dry cloth to absorb it immediately. Kitchen cleaning tips from The Kitchn note that this preventive approach stops water damage before it starts. Allow 10-15 minutes of drying time between cleaning and finishing (see next section). If you’re in a hurry, use a clean, dry cloth to hand-dry, which speeds things up and prevents watermarks.
Tackling Stubborn Stains and Grime
Dried grease splatters, water rings, and sticky buildup require targeted treatment. Don’t scrub, this scratches. Instead, use heat and chemistry to soften the grime.
For Baked-On Grease:
Wet a cloth with warm water, wring it out, and lay it over the spot for 30 seconds to soften the grease. Then gently wipe. Repeat if needed. If still stubborn, dip your cloth in a 50/50 vinegar-and-water solution, apply it, let it sit for a minute, and wipe. Vinegar cuts grease, but don’t let it sit long or it dulls the finish. Immediately follow with a damp cloth of plain water to remove vinegar residue.
For Water Rings and Mineral Deposits:
These often respond to a weak vinegar solution, but test on a hidden spot first. Some finishes don’t tolerate vinegar well. If vinegar doesn’t help, try a commercial wood cleaner designed for kitchen cabinets. The Spruce offers detailed cleaning advice for various wood types and finish challenges. Follow product instructions carefully and apply sparingly.
For Sticky or Glossy Buildup:
This is often leftover furniture polish or cleaner residue. Use a cloth dampened in plain warm water only, no soap, no vinegar. Wipe thoroughly and dry immediately. The buildup should come off as you wipe. If it doesn’t budge after three or four passes, a weak vinegar solution may be necessary, but this is rare.
General Rules for Stubborn Spots:
- Never use a scouring pad, steel wool, or abrasive cloth, these scratch irreparably.
- Never use furniture stripper, acetone, or paint thinner unless refinishing is your goal.
- Test any solution on an inconspicuous area (inside a lower cabinet, the back of a door) before using it on visible surfaces.
- Work slowly. Stubborn stains usually respond to patience and repetition, not force.