Table of Contents
ToggleHomeowners are increasingly fed up with recurring security camera fees. Subscriptions for cloud storage, AI features, and alerts can easily cost $100 to $200 per year per camera, and that adds up fast if you’re monitoring multiple rooms. The good news: plenty of reliable indoor security cameras now offer subscription-free operation with local storage and solid performance. Whether you’re protecting your living room, bedroom, or home office, a no-subscription camera gives you full control without the monthly drain on your wallet. This guide walks through what makes a subscription-free camera worth it, which features matter most, and how to set one up yourself.
Key Takeaways
- Subscription-free indoor security cameras eliminate $180–$900 in recurring fees per device over five years by storing footage locally on microSD cards or external drives instead of cloud servers.
- 1080p resolution is the practical sweet spot for indoor monitoring, offering clear face identification and detail without consuming excessive storage or bandwidth like 4K alternatives.
- Local storage keeps your footage private on your own devices, reducing vendor lock-in and ensuring recording continues if your internet drops or the service shuts down.
- Setup for a no-subscription camera takes under an hour and requires only a power outlet and Wi-Fi connection, with most models offering plug-and-play installation via smartphone apps.
- Motion detection with customizable zones and AI-backed person detection now come standard on many subscription-free models, cutting false alarms from pets or shadows without monthly fees.
- Popular subscription-free options like Eufy, Wyze, and Hikvision cameras deliver reliable local-storage performance at various price points, with prices ranging from $30 to $200 depending on features.
Why Choose a Subscription-Free Indoor Security Camera
The subscription model works great for cloud companies but eats into your home security budget. A typical subscription tier costs $5 to $15 per month per camera. Over three to five years, that’s $180 to $900 per device, money you’re paying for access to someone else’s servers, not for the camera itself.
Subscription-free indoor cameras shift the burden back to you. You own the footage, control the storage method, and never worry about sudden price hikes or service shutdowns. Many modern no-subscription models include local storage via microSD cards or attached hard drives, meaning your video stays in your hands. If the internet drops, local recording continues uninterrupted. You still get motion alerts (usually pushed to your phone via the camera’s app), night vision, and live view, the core features that matter.
Another advantage: privacy. Footage stored locally on a device you control doesn’t travel to distant data centers. For households concerned about who has access to interior home footage, this peace of mind is invaluable. You’re also not locked into a vendor’s ecosystem. If you decide to switch brands or remove a camera, you don’t lose access to recorded events.
Key Features to Look For in No-Subscription Models
Not all subscription-free cameras are created equal. Before you buy, nail down what you actually need.
Local Storage and Cloud-Free Options
Local storage is the backbone of a subscription-free camera. The best approach uses a microSD card (usually 64 GB to 256 GB) inserted directly into the camera, or a USB-powered external drive connected to a hub or network. Cameras like those using a local storage setup can record continuously for weeks or months depending on resolution and frame rate.
When evaluating storage capacity, do the math: a 1080p camera records roughly 1 GB per hour of continuous footage: 2K bumps that to 2–3 GB per hour. A 128 GB card gives you about 40–60 hours of 1080p video before it loops and overwrites old footage. Plan for at least 1 to 2 weeks of retention, longer if the camera has motion-triggered recording (which saves space by only capturing when activity occurs).
Some cameras also offer optional cloud storage without forcing a subscription. They’ll keep footage locally and let you upload clips manually or on demand. This hybrid approach costs nothing monthly and gives you backup flexibility.
Resolution, Night Vision, and Motion Detection
Resolution matters, but 1080p is the real-world sweet spot for indoor cameras. It’s sharp enough to identify faces and details from across a room, and it doesn’t bloat storage cards or tank your internet bandwidth. 2K and 4K are nice-to-haves if you’re watching a hallway or open office, but they’re overkill for a typical bedroom.
Night vision typically uses infrared LEDs. Passive IR (no visible light) is ideal for bedrooms: some cameras add “warm” white LEDs for optional color night mode. Test this in a demo if possible, some IR implementations wash out detail, while others stay crisp.
Motion detection is essential. Look for models that trigger alerts and start recording only when activity appears in a customizable zone (not the whole frame). Good motion detection cuts false alarms from pet movement or shadows. Some newer models add AI-backed “person detection” to ignore pets and focus on actual humans, a feature that used to require a subscription but is now baked into many local-storage cameras.
Installation and Setup for DIY Home Security
The appeal of a subscription-free indoor camera is simplicity, and setup reflects that. Most models are designed for plug-and-play installation, no electrician needed, no mounting holes in drywall unless you want permanent placement.
Step 1: Choose Your Spot
Pick a location with a clear view of the area you want to monitor. High shelves, dresser tops, or wall-mounted brackets give the best angle. Ensure the camera is within 15 to 20 feet of your Wi-Fi router for a strong signal: distance or interference from microwaves and metal fixtures can weaken the connection.
Step 2: Connect Power
Plug the camera into a standard outlet. Most indoor cameras draw minimal power (5–10 watts), so a regular outlet works fine. If you want to hide the cord or place the camera away from an outlet, a short extension cord (preferably flat-profile to hide under baseboards) or a smart power strip with a timer can help.
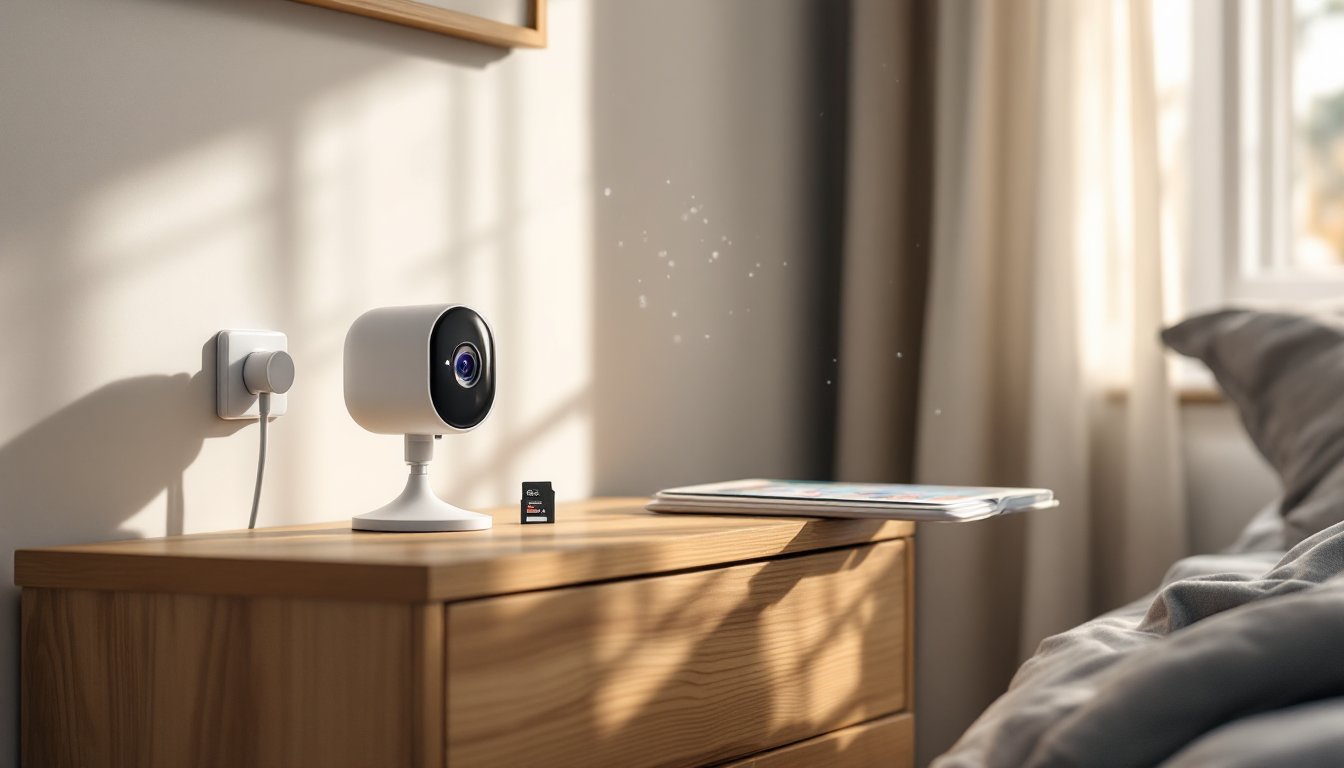
Step 3: Install the SD Card
Insert a UHS-I microSD card (or faster) into the dedicated slot on the camera. The manual specifies the maximum supported capacity: most modern cameras handle 256 GB or larger. Format the card in the camera’s settings, not your computer, to ensure compatibility.
Step 4: Connect to Wi-Fi
Download the camera manufacturer’s app (typically free, no login fee). Open the app, add a new device, scan the camera’s QR code (usually on the back or bottom), and follow the Wi-Fi setup wizard. The camera connects to your 2.4 GHz or 5 GHz network (check your camera’s specs, some only support 2.4 GHz).
Step 5: Configure Motion and Alerts
Once online, adjust motion detection sensitivity and set alert zones. A higher sensitivity catches more movement but triggers more false alarms: lower sensitivity ignores pets and wind-blown curtains but might miss subtle activity. Test this over a few days and dial it in.
Step 6: Access Footage
Footage saves automatically to the SD card. View it in the app’s “Playback” or “Recording” tab. Back up critical clips to your phone or a computer. Some cameras also let you export footage as MP4 files for external drives or cloud backup (which you control, not the vendor).
Top Indoor Security Camera Options Without Fees
Several standout cameras deliver reliable local-storage performance without the subscription trap.
Eufy cameras (e.g., the Cam S350) lead the pack for 4K local recording and private cloud setup. These models record directly to a microSD card and offer no mandatory fees. They’re pricier upfront ($100–$200) but competitive over a five-year span.
Wyze Cam models have long offered affordable 1080p cameras ($30–$50) with free local storage. No subscription required for basics: you pay for cloud backup if you want it, but you don’t have to. The app is snappy, and the community is active if you hit questions.
Hikvision and Uniview cameras (the prosumer-level “easing into NVR” range) require a network video recorder (NVR) or a personal cloud setup, but they’re built for long-term local retention and zero monthly costs. These suit homeowners ready to move beyond smartphone-only monitoring.
The broader smart home technology landscape continues to evolve, with more manufacturers dropping mandatory subscription models each year. Check full-length product reviews and the latest news on platforms covering home security to compare this year’s newest entrants.
When choosing, prioritize cameras matching your Wi-Fi quality, your tolerance for setup complexity, and your storage budget. A $50 camera that frustrates you daily is a false economy.
Conclusion
Subscription-free indoor security cameras are no longer a niche. They’re practical, affordable over the long term, and give homeowners back control of their footage and privacy. By understanding local storage, resolution trade-offs, and the basics of network setup, you can deploy a no-fee camera in under an hour and enjoy peace of mind, without the recurring bill.