Table of Contents
ToggleA bathroom vanity is often the first thing your eyes land on when you step into the room, and it’s also one of the biggest decisions you’ll make during a bathroom renovation or refresh. Whether you’re starting from scratch or replacing a dated fixture, choosing the right vanity involves more than just picking something that looks good. You need to think about materials, dimensions, storage, and whether you can realistically install it yourself. Lowes offers a wide range of bathroom vanities at different price points and styles, but understanding what you’re looking for will save you time, money, and frustration. Let’s walk through the key factors that’ll help you land on the vanity that actually works for your space.
Key Takeaways
- A Lowes vanity bathroom project requires careful measurement of wall width, depth, and height—standard vanities range from 24 to 60 inches wide—to ensure proper fit and functionality.
- Choosing between modern, transitional, rustic, and traditional styles sets your bathroom’s aesthetic, while material selection (solid wood, engineered wood, MDF, or thermofoil) impacts durability and maintenance.
- Mid-range Lowes vanity options ($500–$1,200) offer the best balance of quality, style, and value for most homeowners, with features like soft-close hinges and solid wood construction.
- Single-sink vanities suit small spaces and powder rooms, while double-sink vanities require complex plumbing but serve master bathrooms and multi-user households better.
- DIY installation works for single-sink vanity replacements if you’re handy, but double sinks, new plumbing runs, and electrical work should be handled by licensed professionals to avoid costly water damage or code violations.
- Lighting, hardware, backsplash, and mirror selection transform your vanity from functional to stunning—warm white lighting (2,400–2,700K), complementary hardware, and coordinated materials elevate the entire bathroom design.
Understanding Bathroom Vanity Styles and Materials
Bathroom vanities come in several distinct styles, and the one you choose sets the tone for your entire bathroom aesthetic. Modern and contemporary vanities feature clean lines, minimal ornamentation, and often come in white, black, or gray finishes. Transitional vanities blend traditional and modern elements, think shaker-style doors with a streamlined silhouette. Rustic and farmhouse styles incorporate reclaimed wood, beadboard, or distressed finishes. Traditional vanities showcase raised panel doors, turned legs, and ornate hardware.
Material choice affects durability, maintenance, and cost. Solid wood (oak, maple, birch) offers warmth and longevity but requires proper finish protection in humid bathrooms. Engineered wood or plywood with veneers costs less and resists moisture better when sealed properly. MDF (medium-density fiberboard) is budget-friendly but less water-resistant unless specifically treated. Thermofoil (PVC-wrapped MDF) provides a moisture-resistant option at a mid-range price.
Countertop material is equally important. Quartz is non-porous, durable, and low-maintenance, a popular choice at Lowes. Granite adds luxury but requires sealing. Laminate is affordable and comes in many colors, though less durable long-term. Marble and slate demand regular sealing and are best for experienced homeowners. The countertop surface also impacts where your faucet goes, so factor that into your choice.
Measuring Your Space and Determining Vanity Dimensions
Measure twice, buy once. Start by measuring the wall where your vanity will sit, measure the full width and note any obstacles like windows, doors, or baseboards. Standard bathroom vanities come in 24-inch, 30-inch, 36-inch, 48-inch, and 60-inch widths. A 24-inch or 30-inch vanity works in tight powder rooms: 36 to 48 inches suits most master bathrooms.
Next, measure depth. Most vanities are 18 to 21 inches deep, check your available space from wall to door swing. Depth includes the countertop overhang, usually 1 to 2 inches in front. Height matters too: standard vanities are 30 to 32 inches tall (without countertop), so with a countertop you’re typically at 34 to 36 inches. If household members are especially tall or short, you may want to adjust: ADA-compliant vanities sit at 34 inches.
Don’t forget about clearance. Your vanity should sit at least 12 inches from the side wall (or less if the wall has a cabinet or corner). Allow at least 21 inches of clear floor space in front for comfortable use. If a toilet is within 12 inches of the vanity, check that cabinet doors or drawers don’t hit the toilet seat when opened. Sketch a simple overhead view of your bathroom to verify everything fits before ordering.
Exploring Lowes Vanity Options by Budget and Quality
Lowes carries vanities across a broad price spectrum, so your budget doesn’t lock you out of good quality, but knowing what each tier offers helps. Budget tier ($200–$500) typically includes engineered wood cabinets with laminate tops and basic hardware. These work fine for a guest bathroom or rental property and often come with a faucet included. Don’t expect soft-close drawers or exotic finishes.
Mid-range ($500–$1,200) is where most homeowners find the sweet spot. You get solid wood or quality plywood with better joinery, quartz or solid surface countertops, soft-close hinges, and contemporary or transitional styling. Installation is still DIY-friendly if you’re comfortable with plumbing basics. Premium options ($1,200+) feature solid hardwood, high-end countertops, custom finishes, and superior hardware. Some come pre-assembled and already have faucets installed, which saves time.
When comparing prices, check what’s included: vanity cabinet only, countertop, faucet, backsplash, mirror, or full assembly. A vanity that appears cheaper might require you to buy the countertop separately, add that cost to your total. Also consider whether Lowes offers free or discounted delivery for large orders and whether installation services are available in your area. Many regional stores provide professional installation if DIY isn’t your comfort level.
Single vs. Double Sink Vanities: Which Is Right for You?
A single-sink vanity (typically 24 to 36 inches wide) works well for powder rooms, guest baths, and smaller main bathrooms. It’s cheaper, takes up less space, and means less plumbing work if you’re doing the job yourself. The trade-off: shared storage and mirror space in a busy household.
Double-sink vanities (48 to 72 inches) suit master bathrooms and households with multiple daily users. Each person gets their own workspace and storage drawer. Plumbing is more complex, you’ll need two drains, two shutoff valves, and proper venting, which sometimes requires running new supply and drain lines. If your bathroom has limited wall space, a double vanity might force you to choose a narrower depth or sacrifice other fixtures.
Consider your household routine. If two people shower and get ready simultaneously, a double vanity is worth the extra cost and effort. In a master bath where one person dominates morning routines, a large single vanity with abundant storage may serve you better. Check vanity designs at Lowes, many double vanities now come with a shared faucet or widespread faucet setup that bridges both sinks elegantly, reducing visual clutter. A bathroom vanity for small spaces can maximize storage even in compact rooms through thoughtful design.
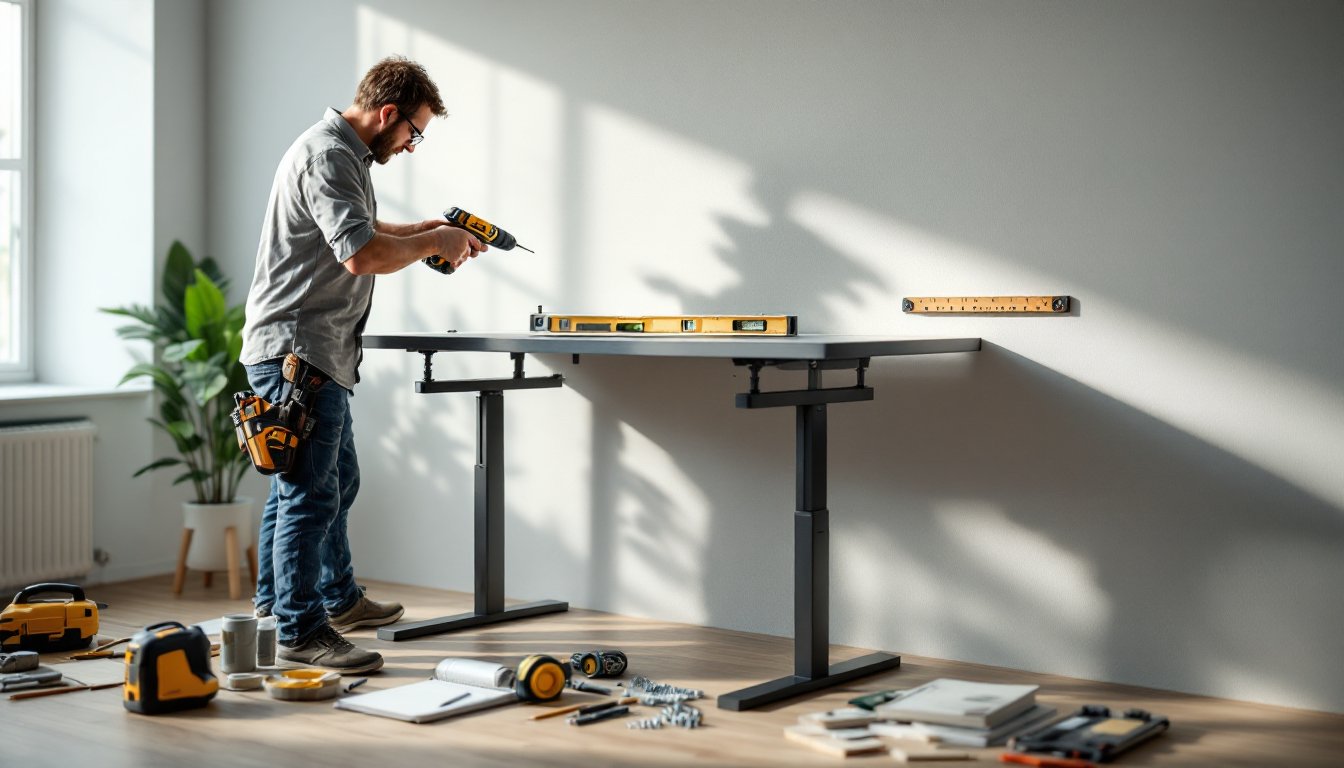
Installation Considerations and DIY Feasibility
Installing a vanity involves plumbing, electrical (if adding lighting), and carpentry skills. Disconnecting the old vanity is straightforward: shut off water supply, disconnect supply lines and drain with an adjustable wrench or slip-joint pliers, and unbolt the cabinet from the wall. Remove the backsplash if bonded. Installing the new one requires leveling the cabinet with shims, securing it to wall studs (critical for preventing sagging), connecting supply lines to your shutoff valves, and running the drain to the trap.
If you’re comfortable using basic hand tools and have plumbing experience, a single-sink vanity replacement is manageable, plan 3 to 4 hours. Double sinks, new plumbing runs, or venting changes should go to a licensed plumber: mistakes cause leaks and water damage, which cost far more to repair. Similarly, if your bathroom doesn’t have adequate electrical circuits for new lighting above the vanity, bring in an electrician: improper wiring violates code and is a fire hazard.
Make sure the wall behind your vanity is solid, plaster, drywall, or tile. You’ll need to anchor the cabinet to wall studs using 2.5-inch wood screws through the back rail into studs 16 inches on-center. If studs don’t align with your vanity width, use heavy-duty toggle bolts as a backup, but studs are always preferred. Order vanity cabinets a few weeks early so the wood acclimates to your bathroom’s humidity. This prevents drawer stick or warping after installation.
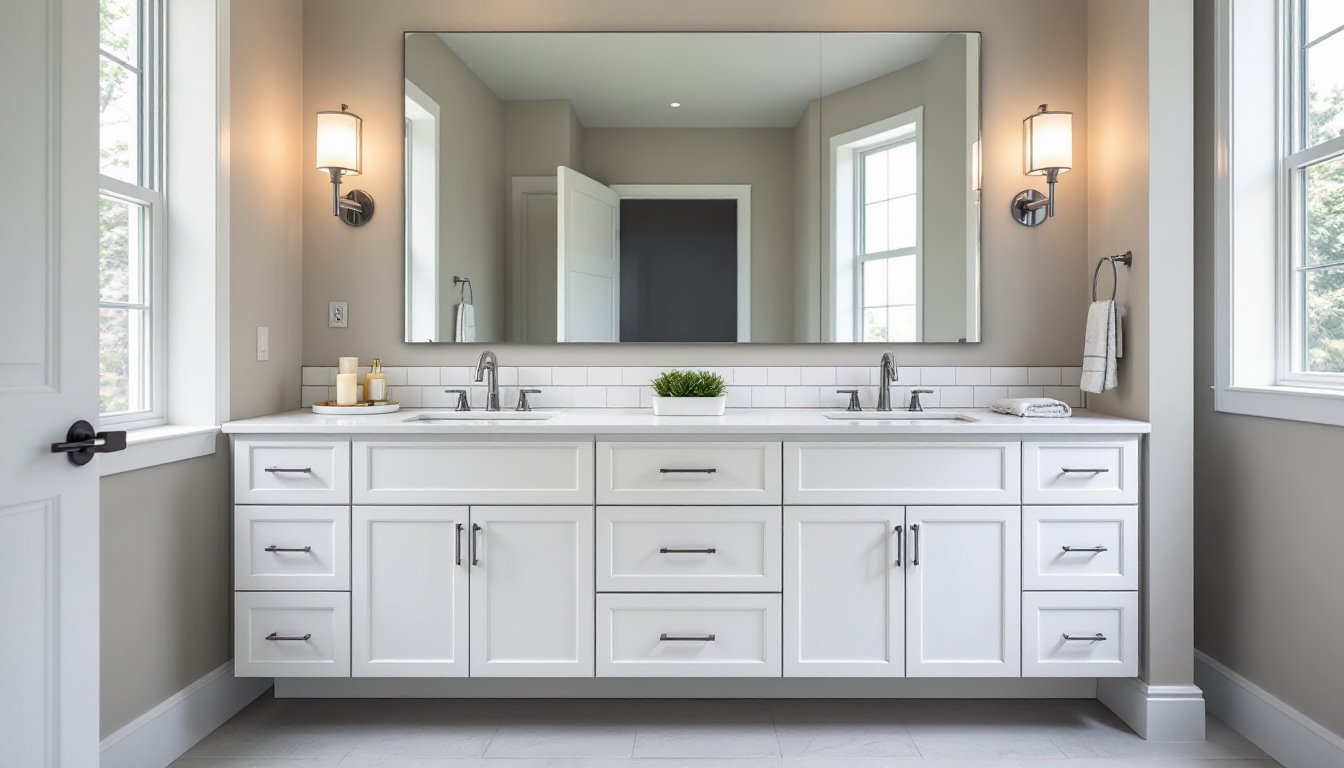
Styling Your Bathroom Vanity for Maximum Impact
Your vanity doesn’t exist in isolation, it’s the centerpiece of your bathroom design. Start with mirror choice. A large, frameless mirror visually expands the space: a framed mirror adds character and ties into your overall style. Lighting matters enormously: install a vanity fixture with 2,400 to 2,700 Kelvin color temperature (warm white) flanking or above the mirror for flattering, shadow-free light. Avoid a single overhead light, which casts shadows on your face.
Add hardware that complements your vanity style: sleek bar pulls for modern, cup pulls for traditional, oversized knobs for farmhouse. Hardware is the easiest and cheapest way to refresh a vanity’s look. Backsplash material should coordinate, subway tile, marble, or shiplap all work depending on your style. If your vanity countertop is patterned, keep the backsplash simpler, and vice versa.
Styling inspiration from Lowes bathroom vanity ideas shows real-world setups with different color schemes and layouts. Accessorize thoughtfully: a small vase, candle, or tray keeps the counter uncluttered while adding personality. Paint walls a complementary color, if your vanity is white, soft gray or pale blue adds depth without overwhelming. Consider remodel inspiration resources for curated design combinations and product pairings that work in real bathrooms, not just magazines.
Conclusion
Choosing a bathroom vanity for your Lowes project comes down to matching style, materials, and dimensions to your space and budget. Measure carefully, understand what you can DIY versus what needs a pro, and don’t skip the finish details, lighting, hardware, and backsplash make the difference between a vanity that merely functions and one that delights. Take your time, reference real-world examples, and you’ll end up with a vanity that works hard and looks great for years.